![]()
![]()
![]()
![]()
![]()
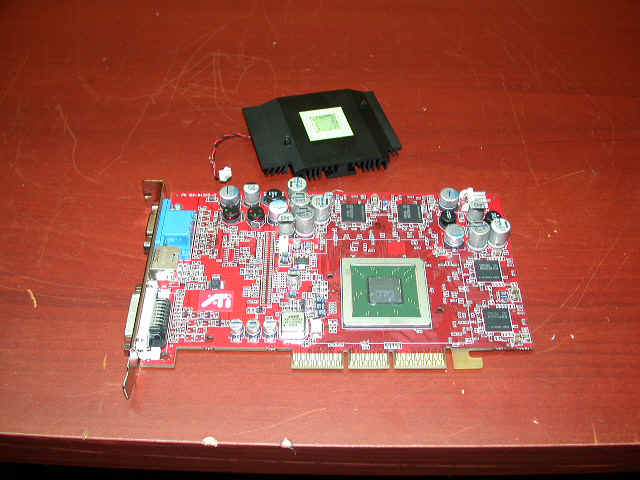
If you are looking for a good cooling solution for your video card to replace the stock heat sink and fan, here it is. This thing is massive in size so it does not require a fan on it. However, if you so desire you may add one or you may want to add a blowhole on the side of your case to add extra cooling but it’s not required. Let’s begin the installation.
Tools and
Supplies:
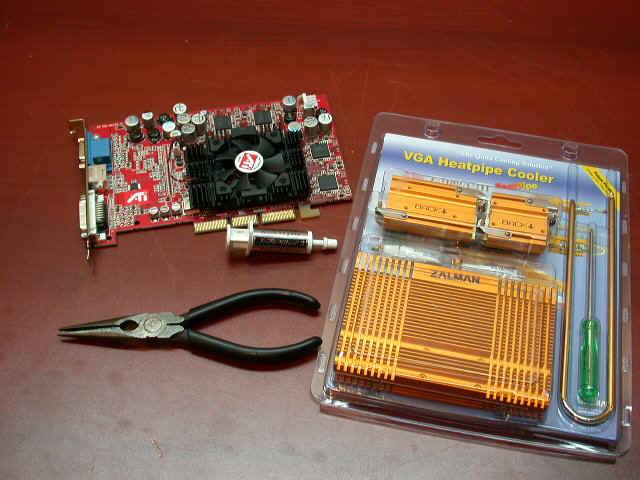
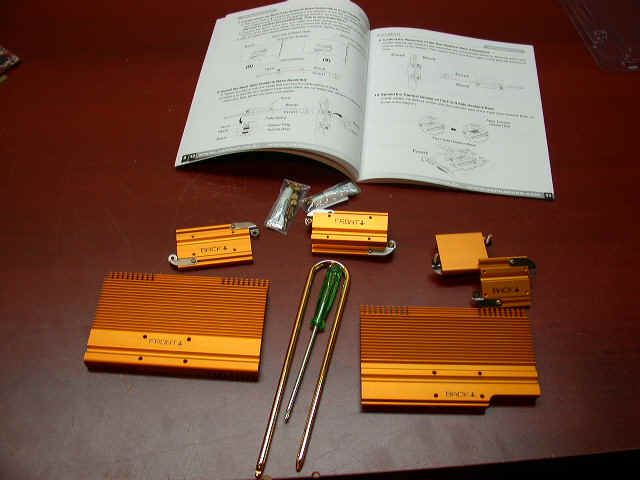
Here’s what you get: front and back heat sinks, two sets of GPU heat sinks, one heat pipe, a screwdriver, two bags of screws including thermal paste and a manual. The longer of the two GPU heat sinks are for other video cards like the G4TI cards that have holes spaced further apart.
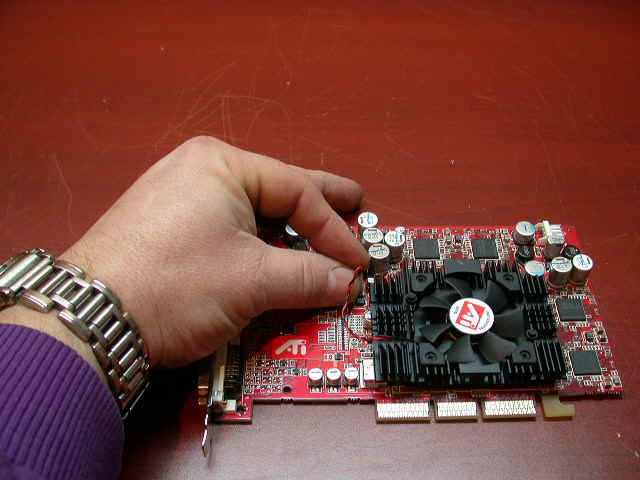
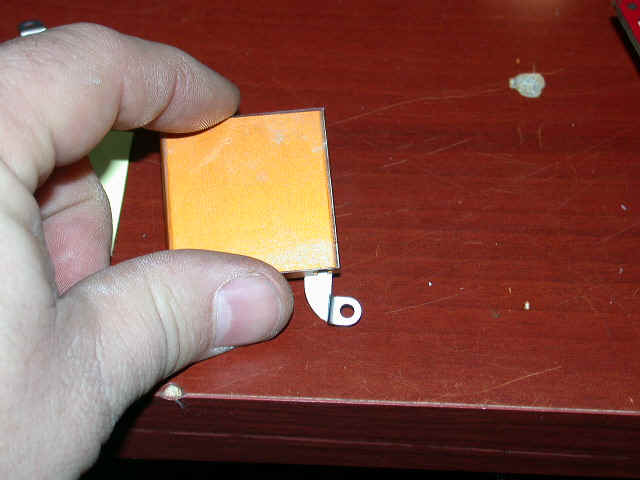
Carefully remove the fan plug from the board.
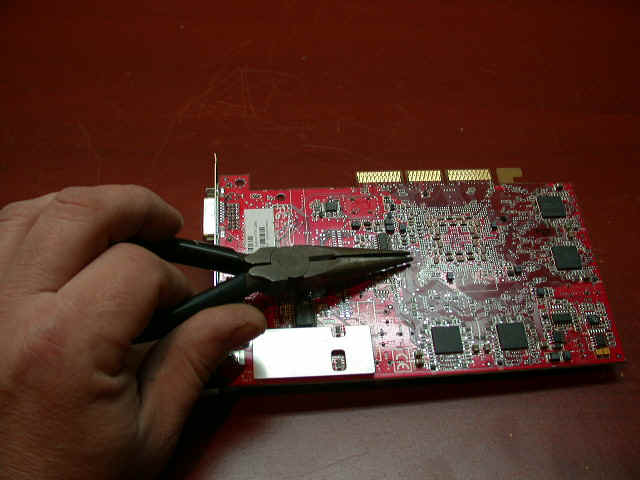
Use your needle nose pliers and squeeze the plastic clamp and push out the pin.
With a little twist, the heat sink should come right off.
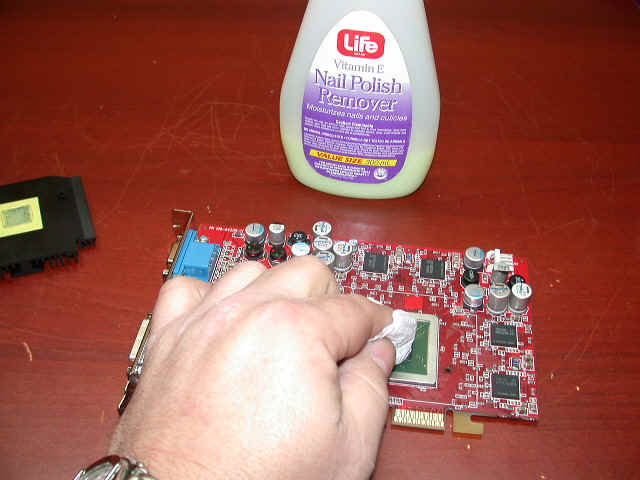
Using a paper towel, with some rubbing alcohol or your Mom’s nail polish remover will work just fine, to remove the old thermal paste from the GPU. And clean the shim as well to make sure that there are no obstructions.
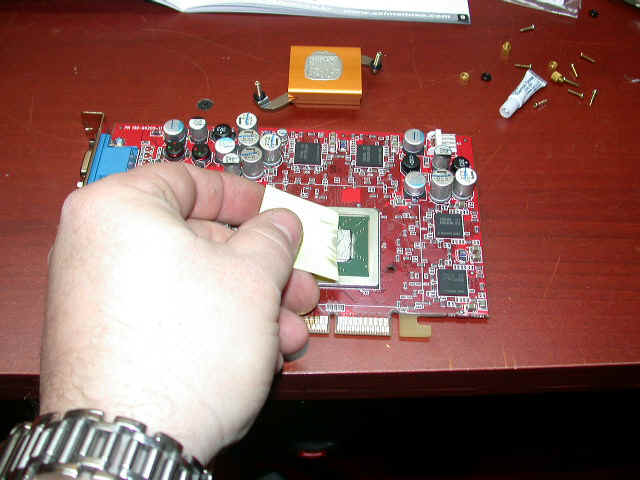
Apply a generous amount of thermal paste and spread it evenly across the GPU. If you are not sure you’ve used enough thermal paste just remove the heat sink and check it. In this picture you can see the impression the thermal paste made on the heat sink – that’s what you want to see. It never hurts to check as it can save your expensive video card from thermal destruction!
Install the heat sink onto the GPU using the supplied hardware that came in your kit. Make sure it’s installed as shown in the picture. The heat sink should be centered with the core and the shim.
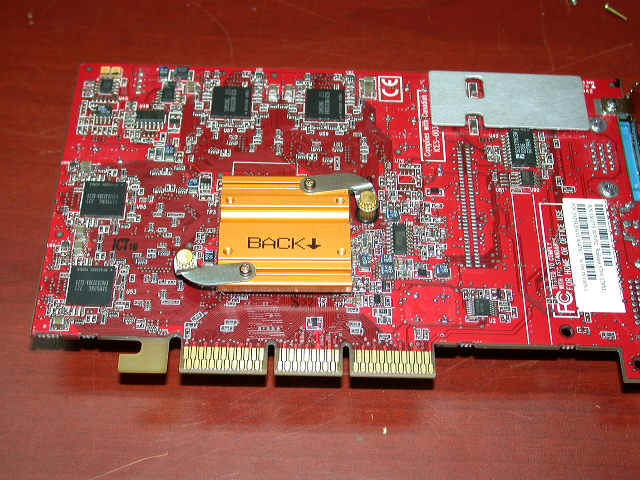
On the heat sink marked back, make sure you install the sticker that’s provided to protect it from coming in contact with electronic components and shorting out the video card.
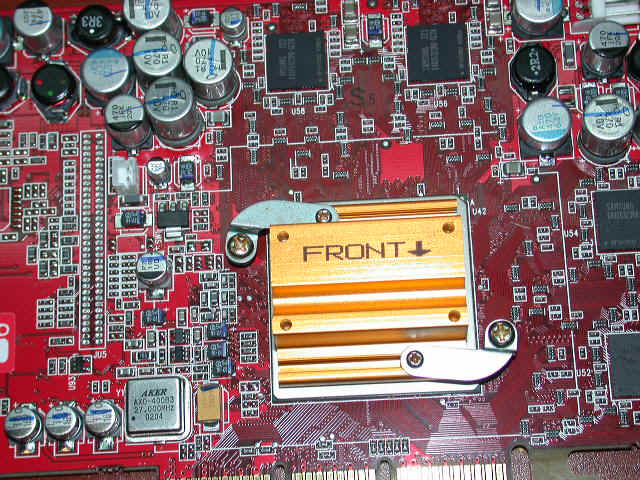
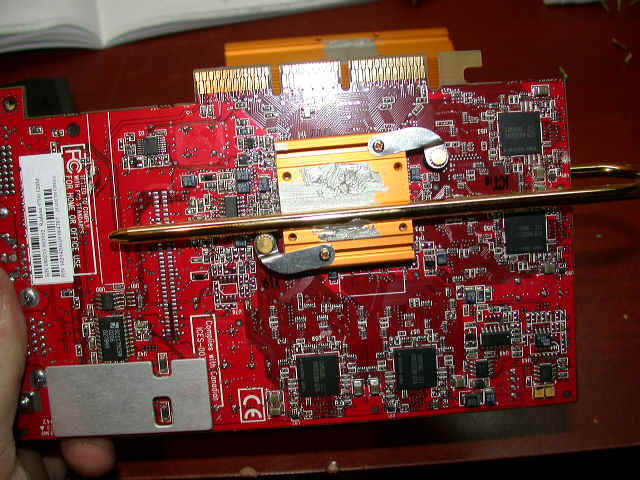
If you have installed it correctly, it should look like this with the arrow from the heat sink pointing to the AGP contacts.
Apply thermal paste to the area shown and do the same to the back side as well.
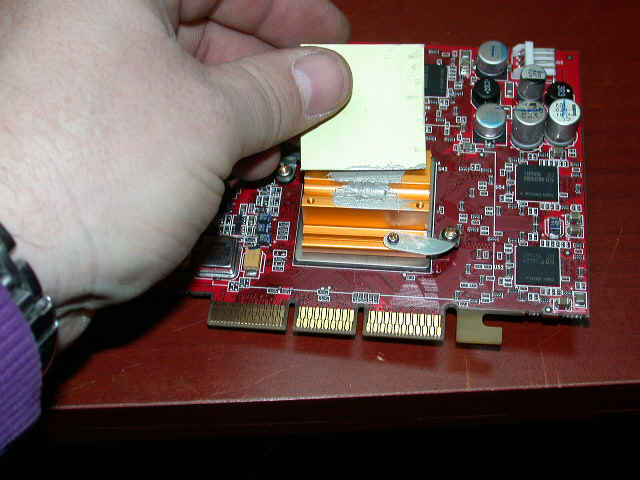
Install the heat pipe as shown and apply more thermal paste to the large portion of the heat sink as well.
The heat pipe should look like this on the backside of the video card if it is installed correctly.
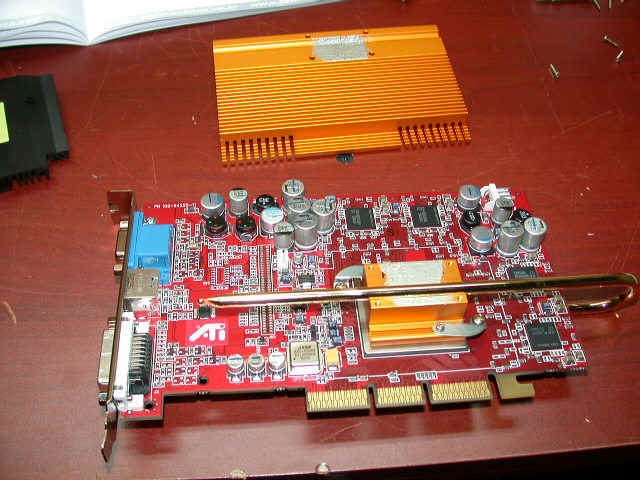
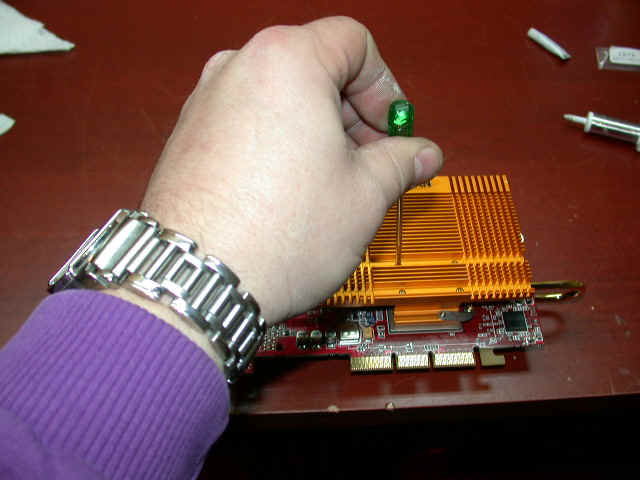
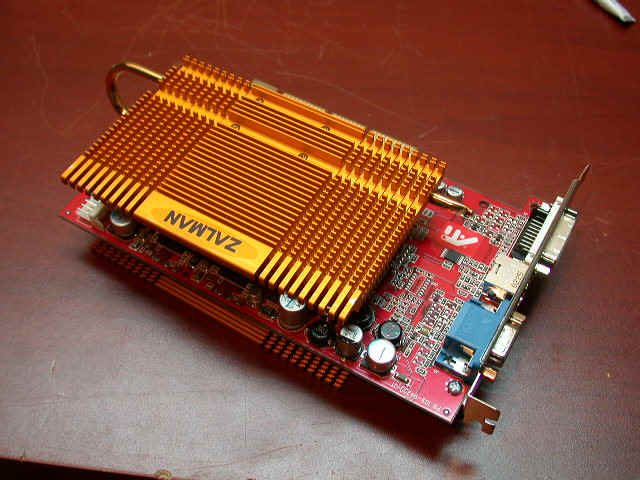
Now it’s time to install the larger of the heat sinks to the GPU heat sink. There are four small machine screws that hold it down. Do not overtighten these as they are all too easy to strip. I recommend using the screwdriver provided in the kit to prevent over-tightening.
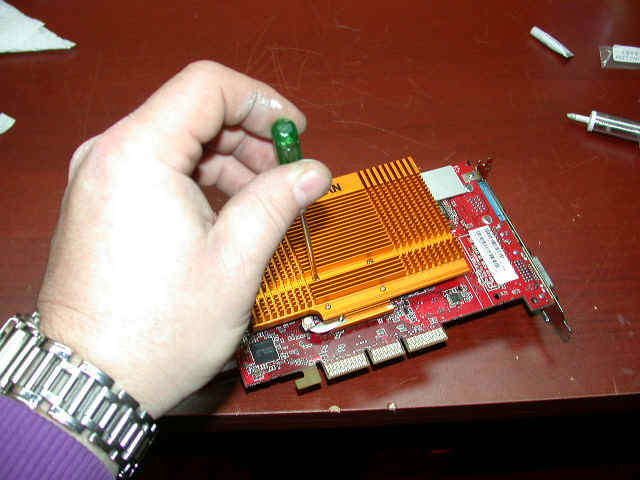
Install the back portion of the large heat sink the same way.
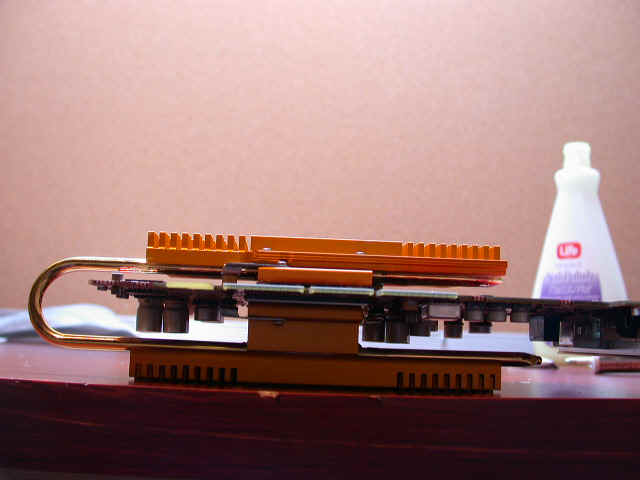
If you’ve installed it correctly, you should see a gap between the heat sink and the bottom of the video card. Make sure the gap is there.
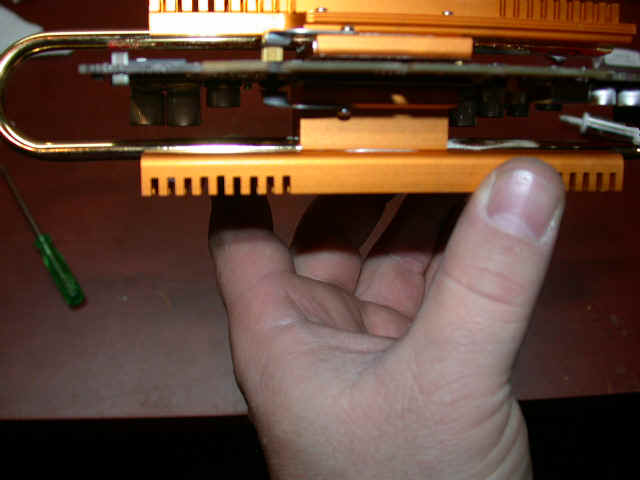
Side view of what it should like.
![]()
![]()
![]()
![]()
![]()