![]()
![]()
![]()
![]()
![]()
"
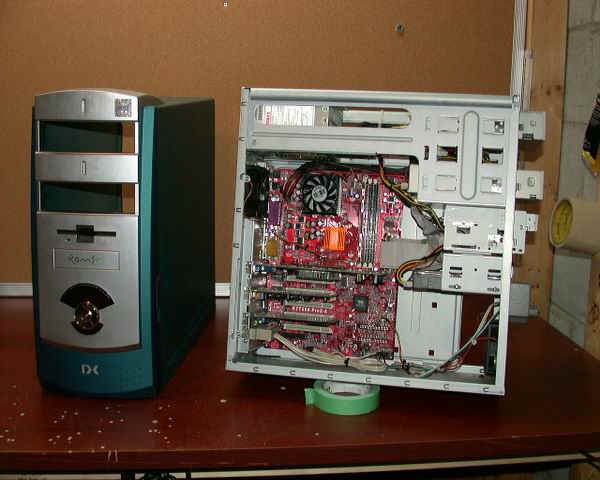
First, put all the wires behind the motherboard tray as
follows; mount the motherboard, hard drive
and CD ROMs in place. I always like to
use the 5-1\4” bays for all the drives - it's the best way. Don't worry about the floppy drive since the only
time you will need this is for BIOS flashing. Just
leave the power plug somewhere you can get at it when you need it - if you've got the room
then leave it in.

On this image you can see where all the power cables
go. Keep one drive open just for the wires. Later, you can put your Reo-bus in there. You may need to dremel a larger hole to get the
plugs through. In some cases, you can get the
IDE cables in there as well. Using string or
old wire, measure out the length you will need for your IDE cables - there's nothing worst
then ending up with a cable that's too short - so measure.

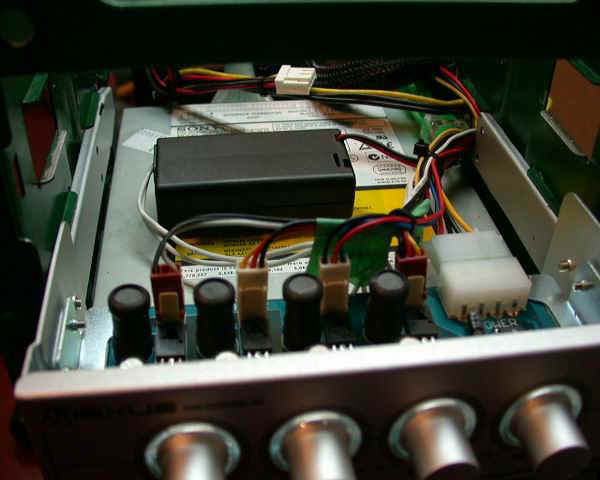
Here is another example on this image.
Here is a great place to hide inverters when you're
doing your upper case lighting, right on top of a CD ROM.
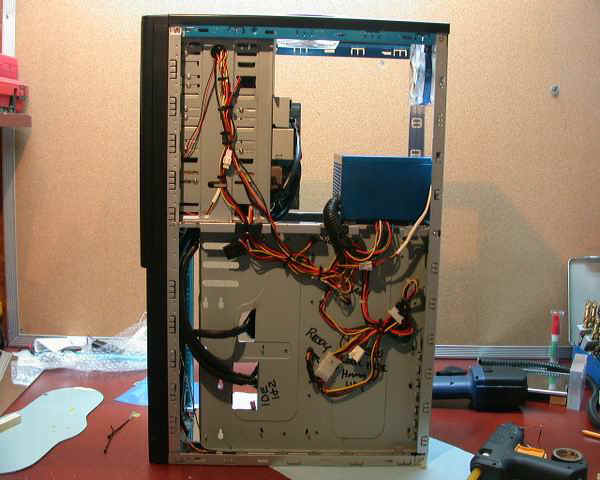
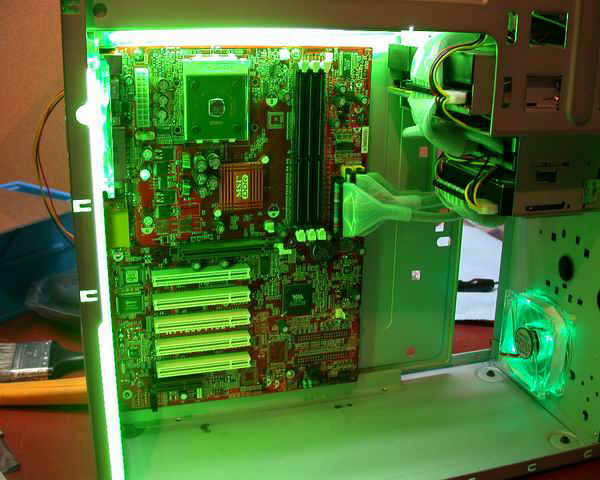
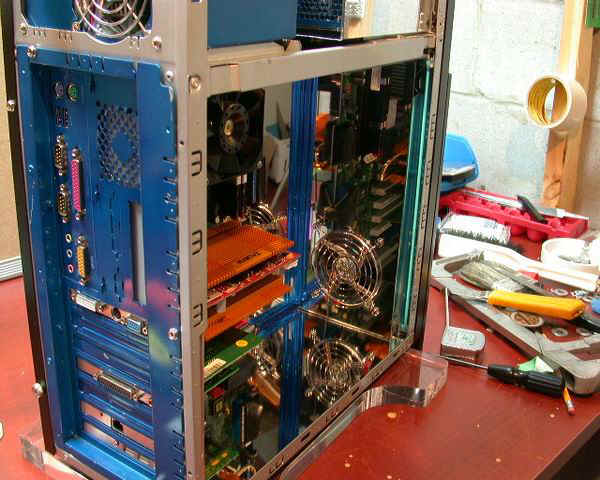
This image shows how I ran the IDE cables - notice now
the cables flow together and the power cables are hiding behind the IDE cables. Tie wraps are your best friends here.
Here is another image from the side. The power cables
are tucked into open spaces in the drive bays.
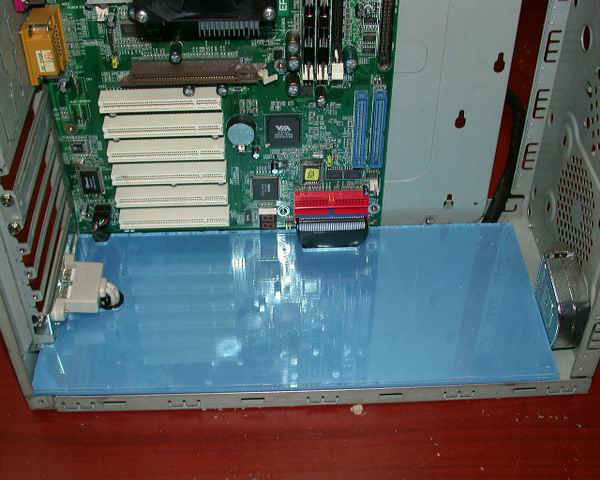
I made a partition wall here out of plexiglass and
painted the backside to hide more wiring. It's
easy to do and it works for me :wink: !

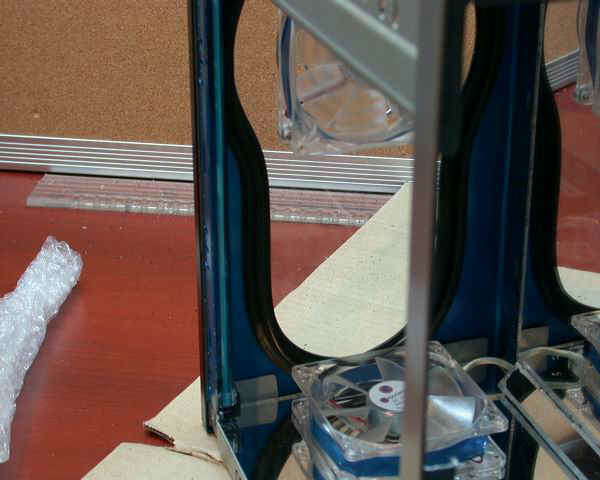
Here's a great way to hide all those USB wires, LED
header wires, inverters, case fan wires and whatever hangs out at the bottom. You can use painted plexiglass or plexi-mirror
like I did. Get some wood blocks to raise the
plexiglass off the floor so that it's flush with the lip of the case rail. Once you have the right height, glue the blocks to
the case floor, mark the areas where you want the cable to come through and notch the
plexiglass out like this. Then, velcro the
plexiglass to the wood blocks and you're done.
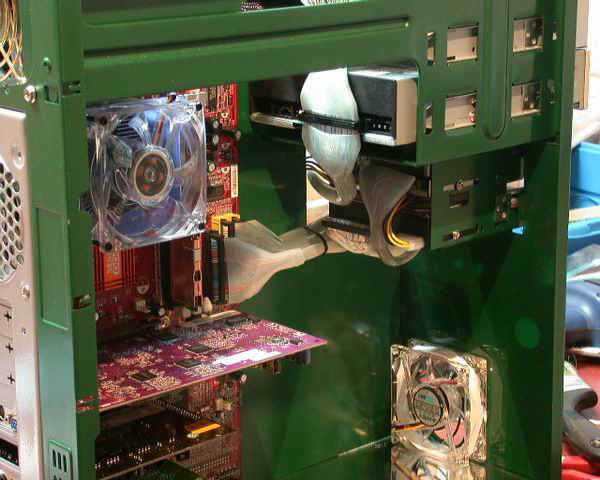
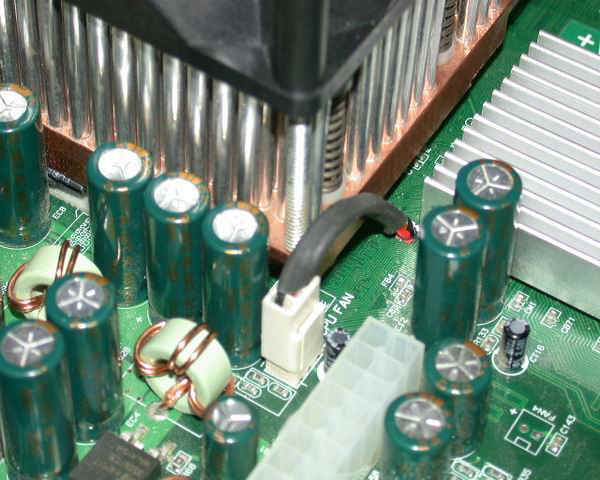
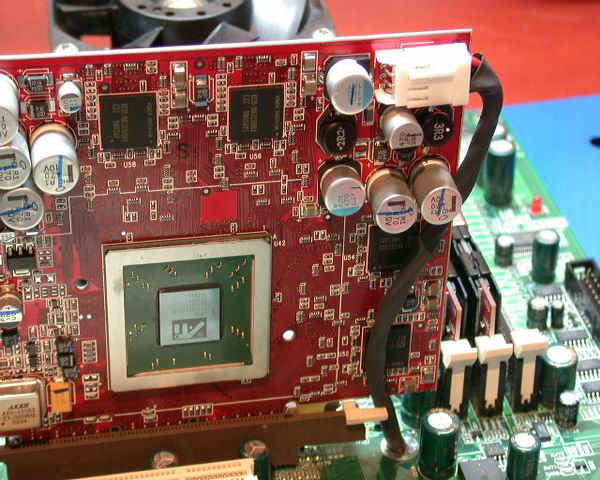
Here's the fun part - hiding the fan wire from your
heatsink and the power cable for Radeon cards. There's
just one thing to remember: use heatshrink whenever you thread wires through the
motherboard’s mounting holes. You don't
want to damage the wires and have it ground out. After
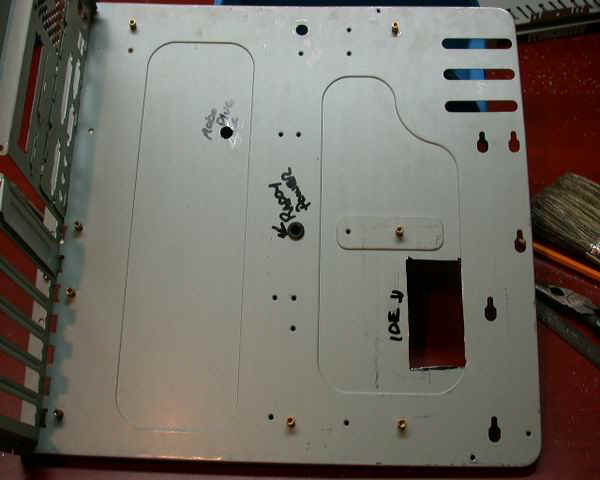
you get the wires through the motherboard, it’s time to measure and drill out the
holes in the motherboard tray to feed the wires through the backside. Clean up all the burrs with a file and insert a
grommet. I like using the snap-in plastic
type but it's up to you. Don't worry if you
don't get the hole in the perfect spot - there's plenty of room between the motherboard
and the tray.
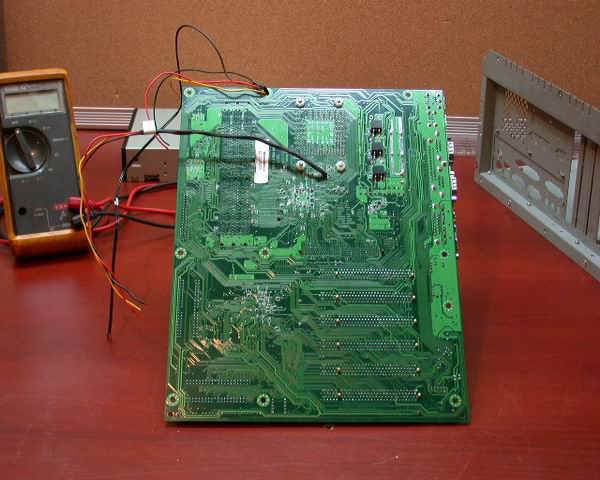

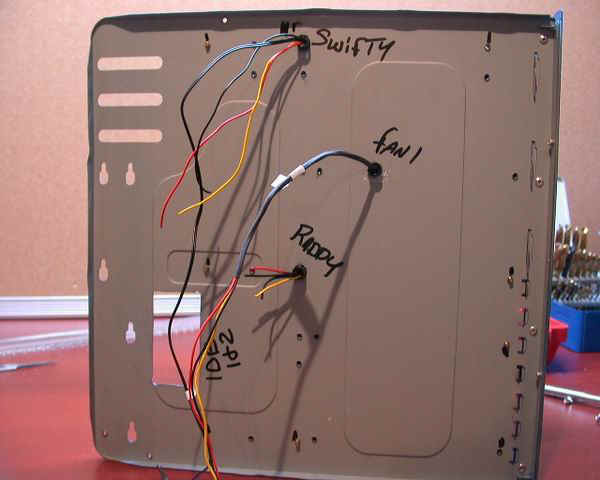
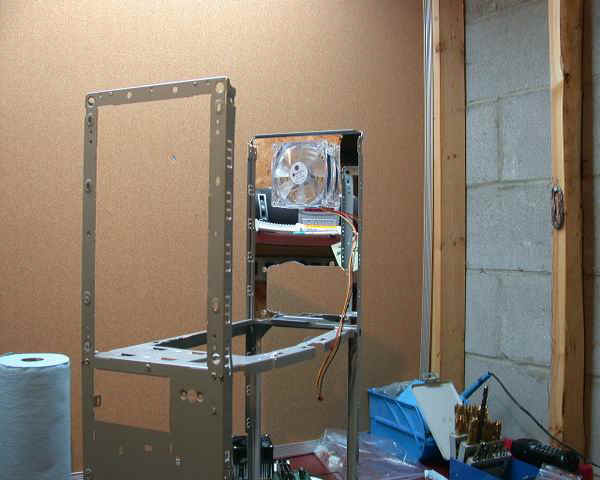
Here’s where the wires come through the
motherboard tray. If you try this, remember
to use grommets and add plugs so if you ever have to remove the tray it will be a lot
easier.
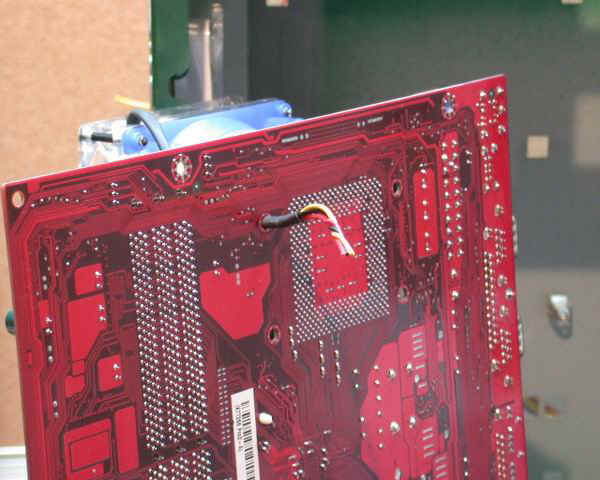
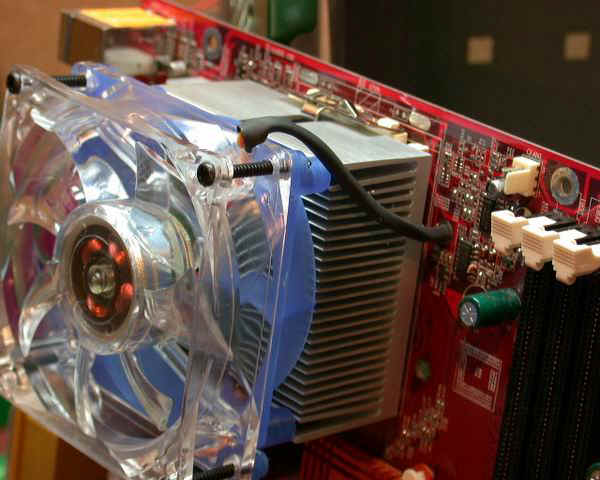
How convenient - there was a mounting hole right at the
rear of the AGP slot for the Radeon 9700 power cable!
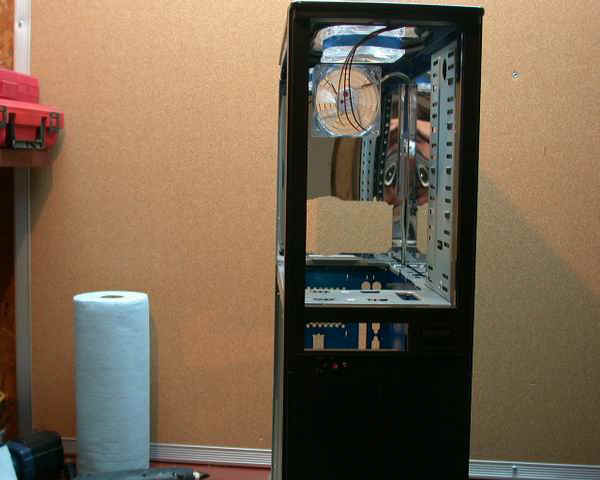
On to the LED fans and wiring them. There's lots of
ways to hide wires. In this image I used the
inside of the window molding.

If you remember me saying, use the corners and the case
side edges to hide fan wires and your CC light wires.
In some cases you can bend the metal tabs in to hold your wire in place. Don't use tie wraps or you will never get the side
panels on. Just use glue to hold them in
place.
In this image you can see where the CC light is hiding
and you can see the LED fan wires leading toward the right corner of the case.
Here's where the fan wires end up and that’s right
where you want them. That’s where the
Reo-bus sits.
This image shows where I placed the other CC light. I also ran the wires up the inside corner of the
case to my Reo-bus.
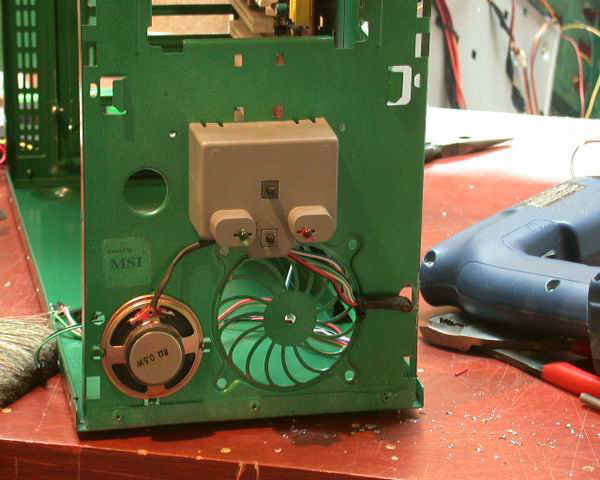
Here's a great way to hide that ugly speaker: just bend the tabs the other way and you’re
all set. Also notice how I routed the LED
header wires through the front of the case and along the case edge and under the
plexi-mirror.
That about covers all the bases in tidy wiring. There are some cases out there that are more
difficult to work with than others therefore, when you go out and buy your next case look
at the case’s construction and figure out how you’re going to tackle the wiring. Now that you’re armed with some knowledge,
you can tear right into it and make your own work of art.
Good luck and happy modding. Don't forget to post your pictures so others can
learn from you. That’s what makes this
such a great past time!
![]()
![]()
![]()
![]()
![]()